Are you looking for a reliable and feature-packed digital audio workstation (DAW) for your voiceover recordings? Look no further than Adobe Audition.
In this article, we'll walk you through the steps to set up Adobe Audition for your first voiceover session.
Setting Up Audio Hardware
The first step in using Adobe Audition is to set up your audio interface or USB microphone.

To do this, go to Adobe Audition > Preferences > Audio Hardware.
From there, select your microphone as your default input. Make sure to select your microphone and not your computer's internal microphone.

If you're using a USB microphone, you can set the output to your microphone and plug your headphones into your microphone or set the output to your computer and plug your headphones directly into your computer.
Setting Up a Multi-track Session
While you can create a new audio file by clicking the record button, creating a multi-track session will allow you to compile your voiceover with music or additional takes.

To set up a multi-track session, click on File > New > Multi-track Session.
Set the sample rate to 48,000 or 44.1 kHz and the bit depth to 24. We'll keep our mix as stereo, even though we're recording a mono instrument, and click OK.
Recording Voiceover
With everything set up, it's time to record your voiceover.
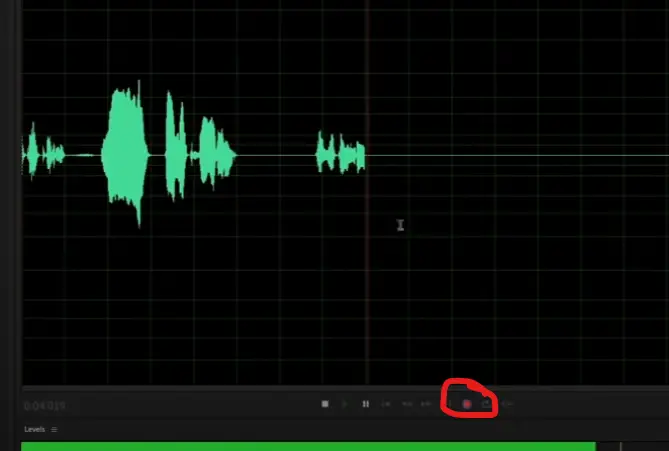
Click the Record button to arm your track, and adjust your gain on your microphone or interface so that your levels are peaking around -12 dB. This will give you a good starting point for your levels.

Record your voiceover and feel free to edit it as needed. You can use Adobe Audition's frequency spectrum analyzer to see where all the frequencies are lying in your recording and make surgical edits to remove any unwanted noise.
Adding Effects to Your Voiceover
Finally, you can use Adobe Audition's effects rack to add any number of effects to your voiceover. You can add EQs, compression, and more to sweeten your recording and make it sound as professional as possible.
Improve Audio Quality
In order to improve the audio quality, please do the following:
- Normalize the audio to boost the levels
- Light noise reduction again (if needed)
- Compress the audio to flatten out peaks and control the quiet bits
- Equalize
- Normalize again (if needed)
- Apply a hard limiter to control overall levels
Click here for detailed steps to improve audio quality

