If you're looking to bring your script to life, making an animated video can be the perfect solution. The process of converting a well-written script into an animated video with an AI voiceover may seem daunting, but with the right tools and approach, it can be an enjoyable and rewarding experience.
In this article, we'll guide you through the process of how to make an animated video from a script, from writing a compelling script to rendering and exporting the final product. By following these steps, you'll be able to create a high-quality, engaging video that will captivate your audience.
Step 1: Write a Compelling Script
Making an animated video from a script can be a fun and rewarding experience, but it all starts with a well-written script. A bad script will result in a bad video, no matter how good the animation or voiceover is.

Referenced Click Funnels
That's why it's crucial to take the time to write a script that will captivate your audience and deliver value. A great script should have a clear structure, well-defined characters, and a compelling story that keeps the audience engaged.
Make sure to keep your target audience in mind when writing your script and use language that is easy for them to understand. A solid script is the foundation for a successful animated video, so take your time and get it right.
User today can use ChatGPT or any other GPT based AI writing tool to craft the script and tweak them in no time.
Step 2: Choose the Right Animation Style
Once you have a solid script, it's time to choose the animation style that best suits your story. While many people associate animated videos with moving animations, it's worth noting that not all animated videos have to have movement.

Sometimes, still images can be just as effective in conveying your message. If you choose to use still images, consider using AI art to create them, such as with the software MidJourney.

On the other hand, if you do want to use movement, there are many different animation styles to choose from, including 2D, 3D, stop-motion, and motion graphics. Consider the tone of your story and the look you want to achieve when making your decision.
Step 3: Choose an AI Voiceover
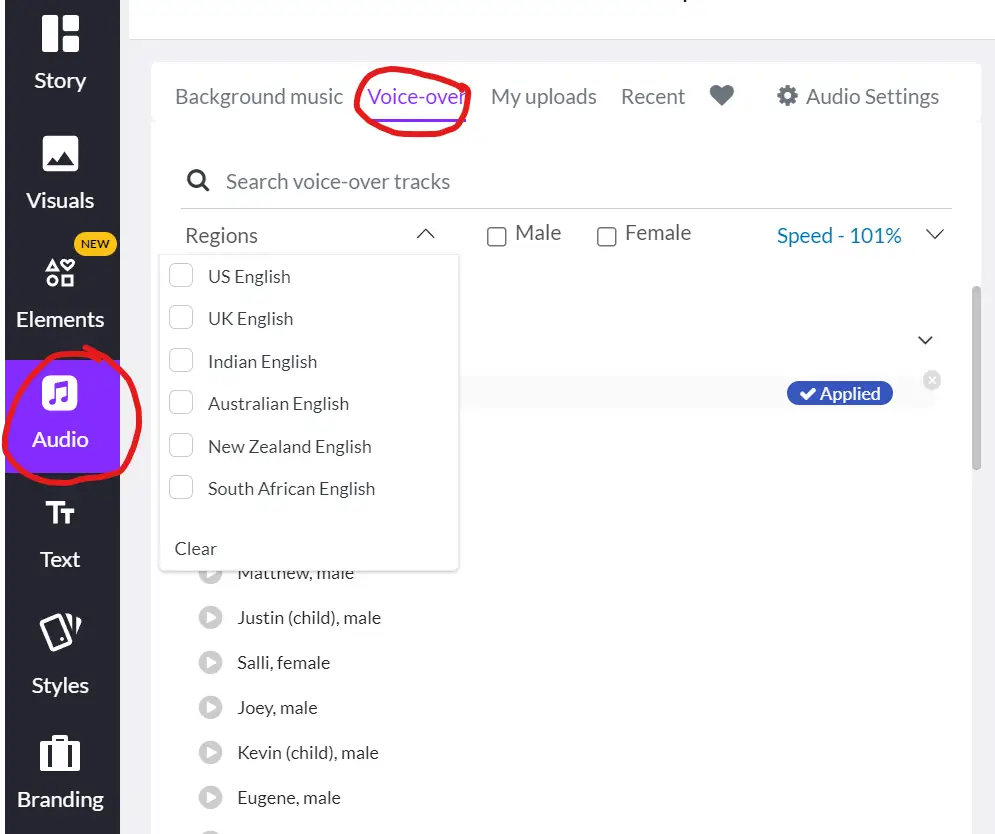
Adding an AI voiceover to your animated video can bring your story to life and make it more engaging for your audience. AI voiceovers are becoming increasingly popular, as they provide high-quality, professional-sounding voiceovers at a fraction of the cost of hiring a human voice actor.

However, it's important to avoid using a robotic-sounding voice at all costs, as this can detract from the overall experience of your video. There are plenty of top-quality text-to-speech programs available to get the job done, so make sure to choose one that provides a natural-sounding voice.
Step 4: Create a Storyboard
A storyboard is a visual representation of your script, showing how each scene will play out in your video. Creating a storyboard can help you visualise your story and ensure that all the elements of your video, such as character movements, dialogue, and special effects, are in the right place.

If you're not confident in your drawing skills, there are many resources available to help you create a storyboard, including online templates and tutorials. You can also look to existing animated videos for inspiration and use them as a guide for your own storyboard.
The important thing is to have a clear plan in place before you start animating, so take the time to create a thorough and well-thought-out storyboard.
- Storyboard That: An online tool that provides a variety of templates and themes to choose from, as well as a library of characters and objects to help bring your storyboard to life.
- Storyboard Fountain: A free, open-source template that you can use to create a storyboard in the style of a screenplay.
Step 5: Choose a Script-to-Video Software

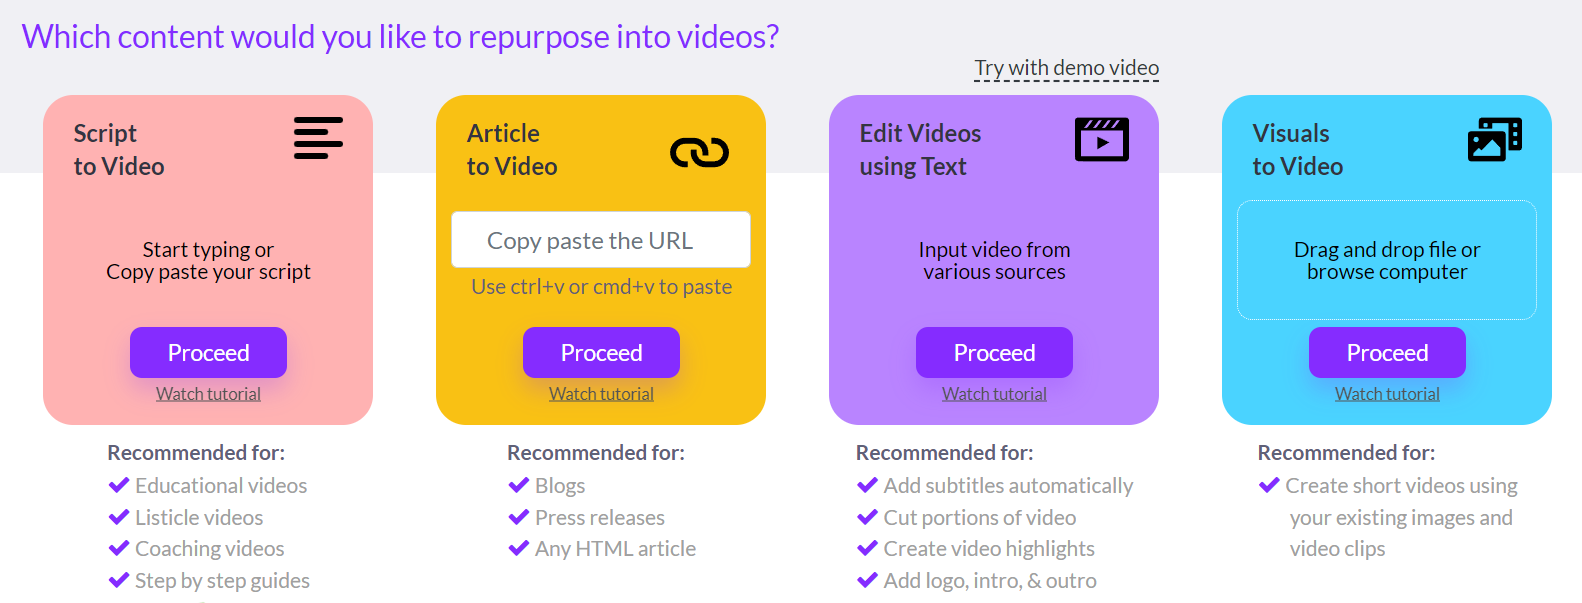
There are many script-to-video software options available, each with its own strengths and weaknesses. The best one for scrip to video are:
- Pictory
- Descript AI
- Steve.ai

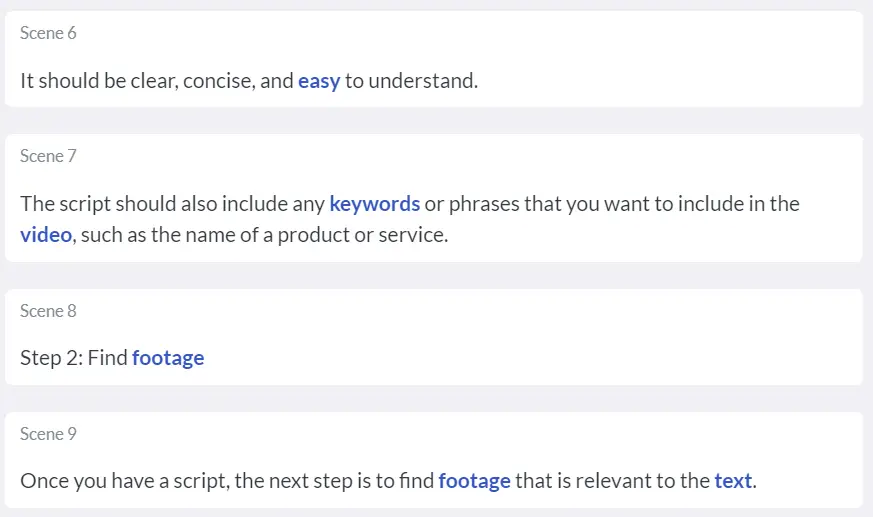
These software is much easier to break down the script into chunks, and the user can insert relevant b roll footage to where the start of the sentence is. this is so much faster than a timeline basded video editor.
Step 6: Add Music and Sound Effects
Music and sound effects can greatly enhance the overall experience of your video. When choosing music, make sure it fits the mood of your story and helps to convey the emotions you want to express. Sound effects, such as footsteps, car horns, or door slams, can help to bring your video to life and make it more immersive.
To take it to another level, if the video has beats to it, try to match the video to the beat to have the best viewing result. In fact, the sound and script should be well planned before starting to edit the video.
Step 7: Render and Export Your Video
Once you have completed all the steps above, it's time to render and export your video. This is the process of turning your animation into a final video file that can be shared with your audience. Most script-to-video software will have a built-in rendering and export option, which makes the process quick and easy.

